Propagating is arguably one of the most fun parts of owning plants. Propagating is free, and gives you lots of baby plants that you can put back into one big pot, or give away to friends! I love propping and am constantly trimming my plants. If you don’t know what a node is or how to take a cutting that won’t die, click here.
Once you have the node, there are so many different ways to root it. Everyone has their preferred method for this; I will go over the three that I mainly use: water, perlite, and stratum.
Water Propping
It’s the tried and true option. It has a high success rate for me, though it can take longer than other methods. It is also the cheapest since water and sun are the only requirements.
Once your node and leaf are callused, find a container to put them in. As long as it can hold water, it will work. You can buy aesthetically pleasing ones on Amazon, or your local goodwill.
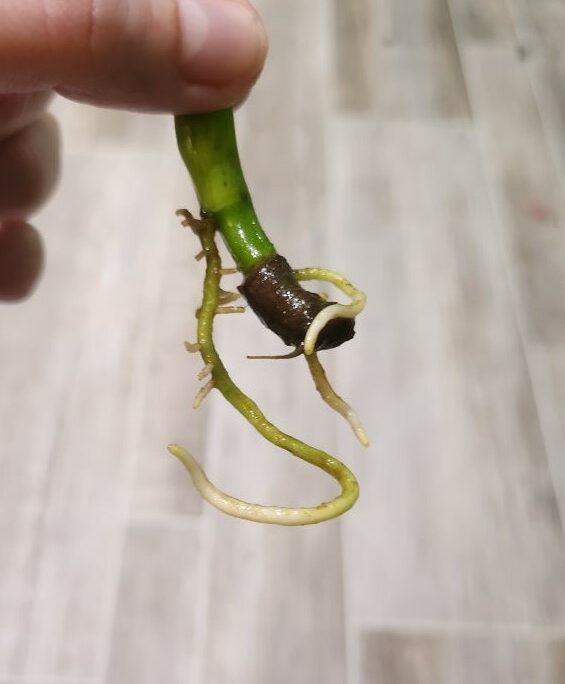
Now you have your node, ensure only the node, not the leaf, is in the water. Next, put it in a sunny spot, and you’re good to go. You should see roots starting in the coming weeks. Change the water weekly; you can add liquid fertilizer if you want, but it’s not required at this stage. Once your roots are 2-4in long, you are ready for LECA; click here for a quick guide to start that process.
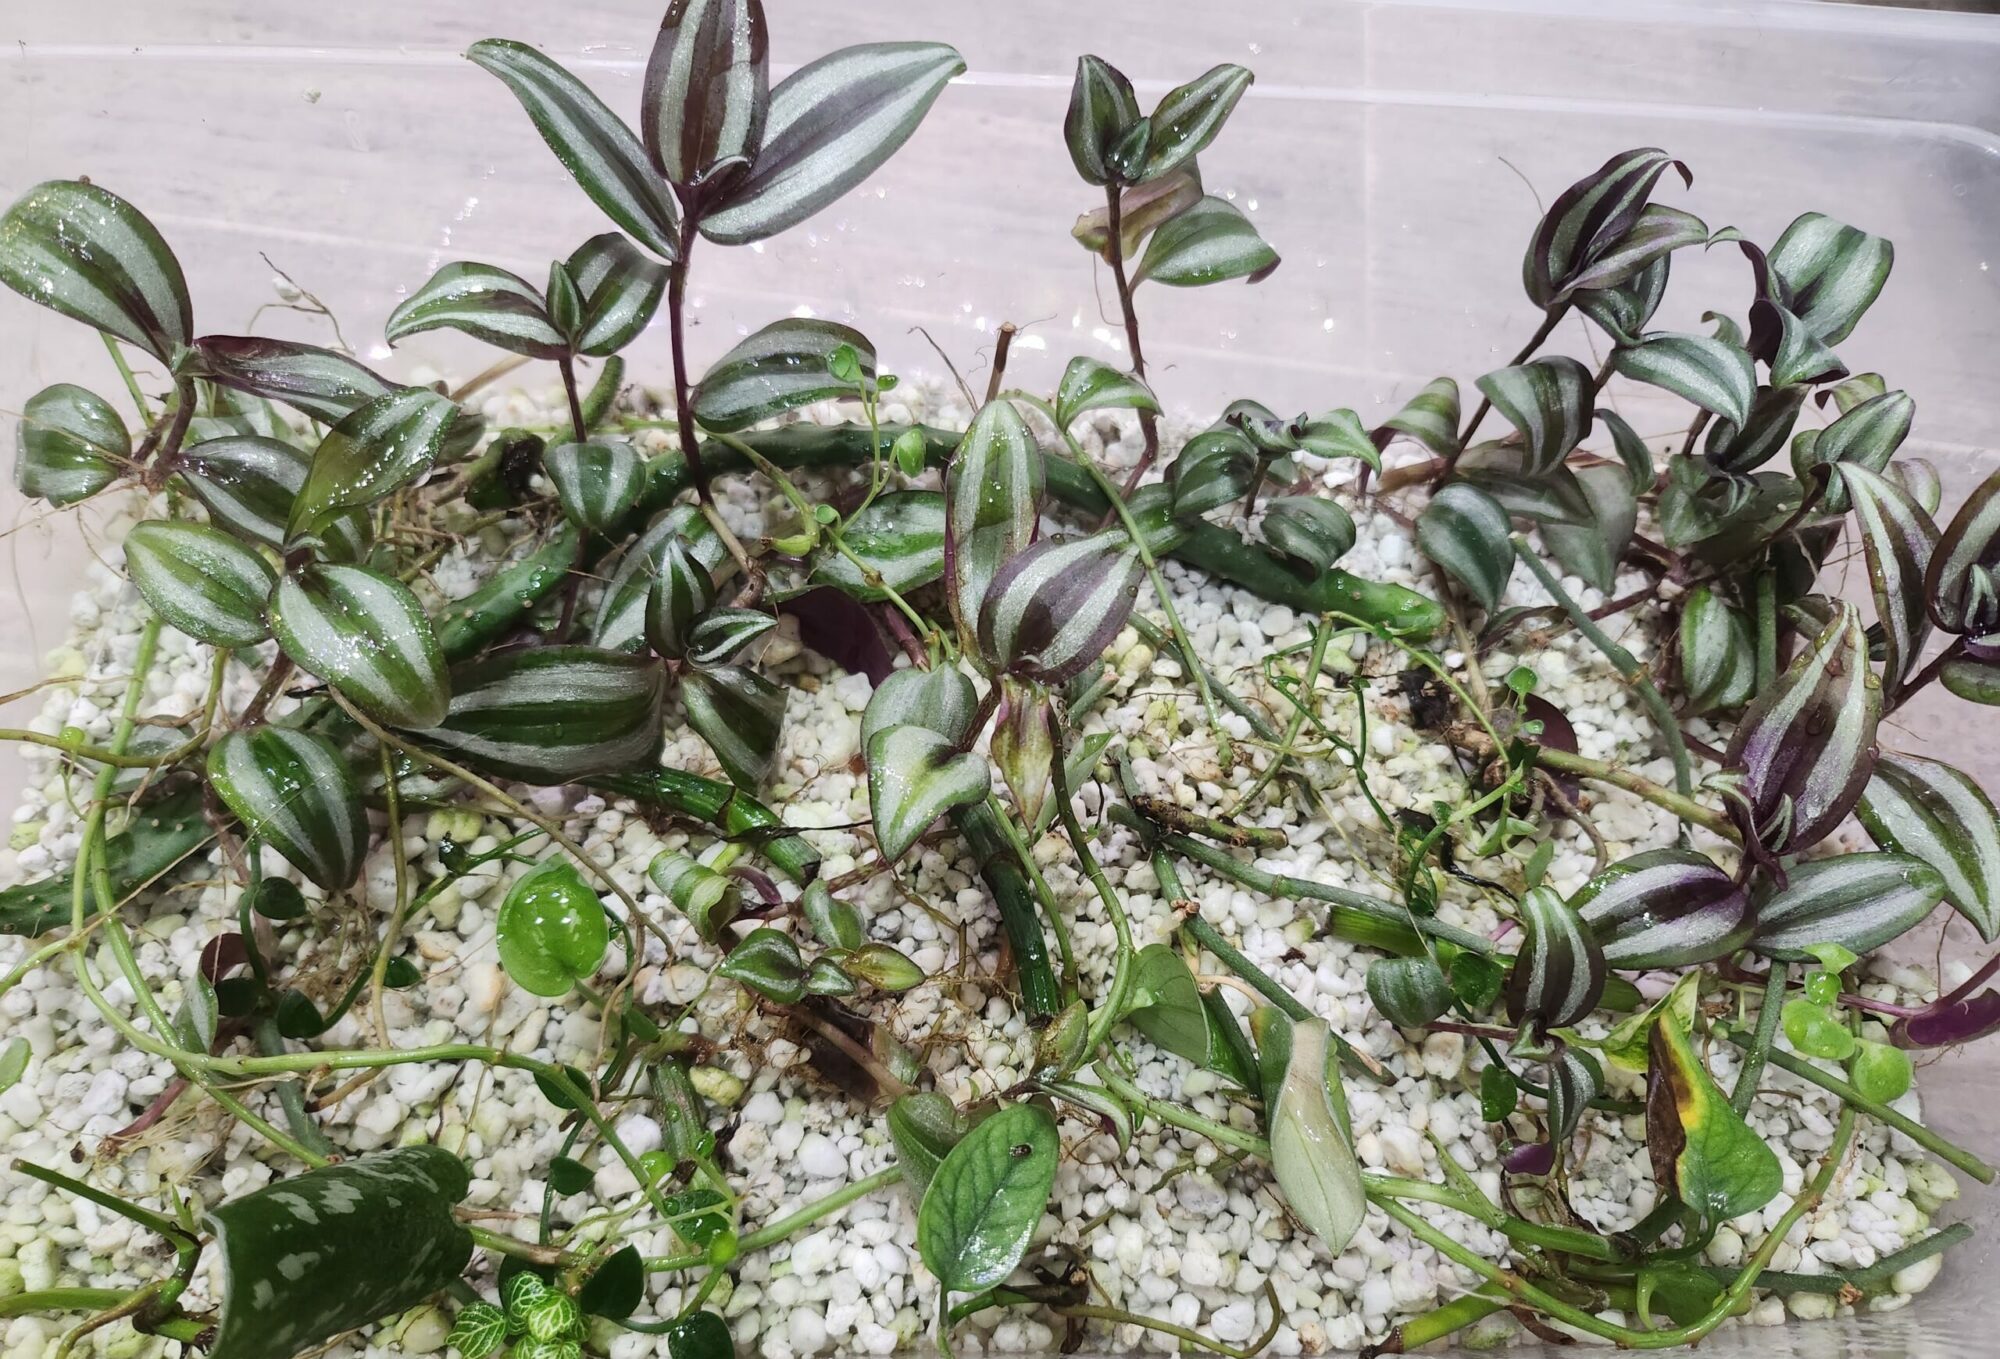
Propping in Perlite
Perlite is generally the easiest and lowest maintenance for me personally. I have around 6-10 prop boxes of perlite going at any given time; I check on them weekly and mist them. Super simple. It does take more setup than just water propping, though; it might not be worth the setup hassle if you just have a few cuttings.
If you want to try perlite, first get some perlite; your local home and garden store should have some. Get a clear plastic container with a clear plastic lid. This can be a plastic bin so that you have a “prop box” or a clear cup with a lid and clear lid; anything that is mostly airtight and clear will work.
Put enough perlite to cover 1-2in the container; be careful, perlite is dusty. Once it’s in the container, fill it with water. Let the perlite absorb the water, then drain the water using the lid to help you keep the perlite in (this is messy; just embrace it). Also, try not to put it down your drain if you can avoid it. Once you’ve drained most of the water, grab some in your hand and see if it holds its form; if it does, then you’re good; if not, add more water and repeat.
Now that you’ve got the container ready with perlite, add the node (with or without the leaf; generally, you’ll have more success if it has a leaf, though) to the perlite. I either push it into the perlite so it stands up or lay it flat on top of it, depending on how the leaf comes out of the node. Then, put the lid on and put it in a sunny spot.

Thats it, the roots will grow into the perlite. Once it has enough roots, at least a few weeks, in my experience, you can remove it from the perlite and pot it up with LECA. Make sure you check on your perlite box every now and again and mist it as necessary. If you are unsure when to mist, grab a small piece or perlite and crumble it between your fingers; if your fingers feel moisture, then you’re good if not mist.
Propping in Stratum
This is a much newer way to prop plants. It is easily the most successful option for me; if I have an expensive plant that I don’t want to accidentally kill, it goes into Stratum. That being said, Statrum is very expensive. So, I only use it for costly cuttings or plants that stubbornly refuse to root in other mediums.
If you want to try, Amazon has a small bag for around 20 dollars. I have been known to reuse stratum for other cuttings; the jury is out on whether this is a good idea, but I’ve been doing it with relative success. Just let the stratum dry out before reusing it.
Find a container for the stratum; I use clear plastic 2oz shot glasses from Amazon, which are cheap and effective. Put a small layer of stratum in the bottom of the vessel; no washing is necessary. But be warned, this stuff is black and will get all over your hands; I strongly recommend using gloves.
Stratum is relatively easy to work with when dry (assuming you don’t mind a black coating on your fingers), but once its wet, all bets are off. It will smear and disintegrate if you accidently get wet stratum on, say the floor. It’s a huge pain to clean up after it, do everything in your power to avoid spilling wet stratum.
Put the cutting in the stratum and fill in the stratum to cover the node. Then water slightly; I generally only keep water in the bottom 1/3, just like with LECA. But this stuff dries out quickly, so you’ll have to water it more frequently.
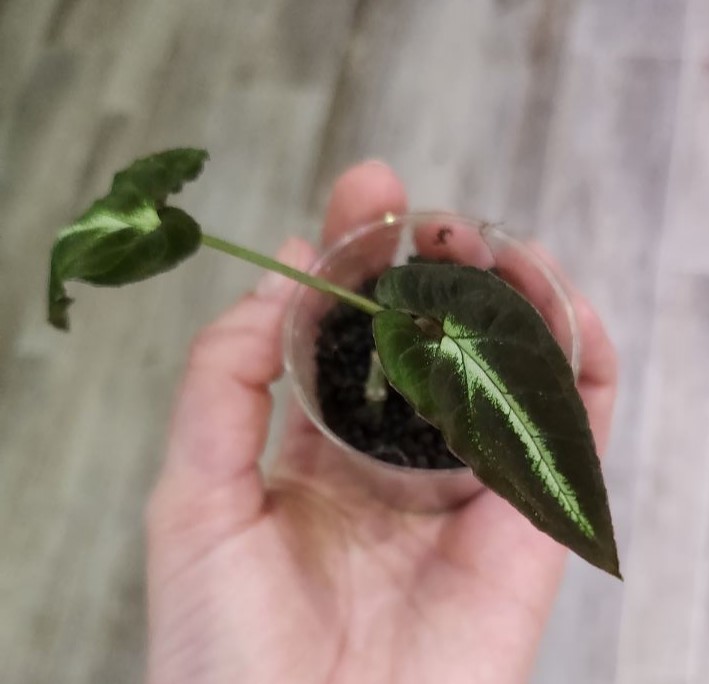
Then, just wait for roots to show up; you should be able to see them through the transparent sides of the vessel. Then once it has lots of roots, you can pot it up into LECA; I generally don’t bother getting all the stratum off the roots when I repot, the roots are delicate, stratum is messy, and I’d hate to ruin the newly grown roots. I’ve never had an issue with some stratum in my LECA, personally.
Overall, all three methods work. I have props growing using all three ways; it depends on how much money you want to spend and how much time you have to devote to propagating. Happy propping!
- Click here for details on how take cuttings
- Click here for different ways to propagate your cuttings
- Click here for info on fertilizer and flushing
- Click here for help transitioning soil plants to LECA
- Click here for quick start guide to LECA
- Click here for help with root rot
- Click here for more details on me and why I love plants
- Follow me on instagram @chaosplant or Facebook @ChaosPlants
Feel free to message or DM me with questions. Love to talk all things plant and will gladly help you on your plant journey.